What if we told you that you can get a basic headless progressive web application (PWA) up and running in about 5 minutes. Would you believe us?
We put together this quick start guide to demonstrate the speed at which Nacelle’s headless commerce platform can connect to a merchant’s backend systems to feed data into a fully customizable and performant PWA frontend.
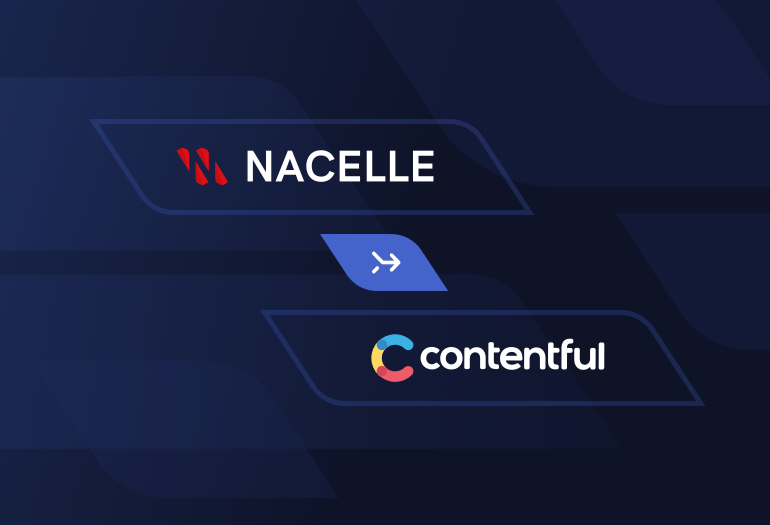
In this example, we are using Shopify Plus as the product information management (PIM) system, Contentful as the content management system (CMS), and Nuxt frontend framework. Many of our customers have seen great success with this headless tech stack, yet, we remain unopinionated about the tech stack a merchant finds is best for their brand—Nacelle can work with them all.
Check out the guided video (or the step-by-step written instructions) below and follow along by creating your own Nacelle sandbox account. Reference our dev documentation as needed, including our Nuxt starter kit.
Interested in learning more about how Nacelle can help you go headless with your tech stack? Contact Sales
Build a Headless PWA: Step-by-step Written Instructions
Set Up Shopify
In order to get Shopify and Nacelle to communicate, you’ll need to set up a private app within your Shopify store.
-
Click “apps” within the left-hand navigation, then “manage private apps”, which will give you the option to create a new private app. For this example, name this “demo app”.
-
Add an email.
-
Set admin and storefront API permissions, then you'll be ready to go. Set, “read” access to both products and store content. After that, you'll scroll down to the store for an API. Make sure that the box is checked so you can access the storefront API.
-
You’ll want everything checked outside of read customer tags, then you can create the app.
Note: You'll need this storefront access token later when you're aligning credentials within the Nacelle space settings.
Set up Contentful
You are going to set up our content management system (CMS) space, Contentful, through a Command Line Interface (CLI).
-
Create a contentful account if you have not already.
-
Install Contentful with a quick NPM install. This will take a little over 20 seconds to download.
-
Log into Contentful where you have the option to open the browser and can paste your token from Contentful over into your Command Line Interface.
-
Ensure that you are logged in and it will list all your spaces. Once confirmed, you need to create a new space where you’re going to link to your Nacelle instance.
-
Add a name such as “demo”, and then confirm the creation.
-
Next choose the right organization. Put “Nacelle” for this example.
-
Copy over that space ID you just created and then make sure that you’re in that space.
-
Next, you need to upload this JSON file that has a default content model schema to help you get started. This will ultimately give you the building blocks to create content for your sandbox environment. Save that file to your desktop. Go ahead and import it within your Contentful space.
-
Wait for that download process to complete and then verify within Contentful that it shows your components.
Create a Nacelle Space
Now you are ready to align both Shopify and Contentful with your Nacelle space.
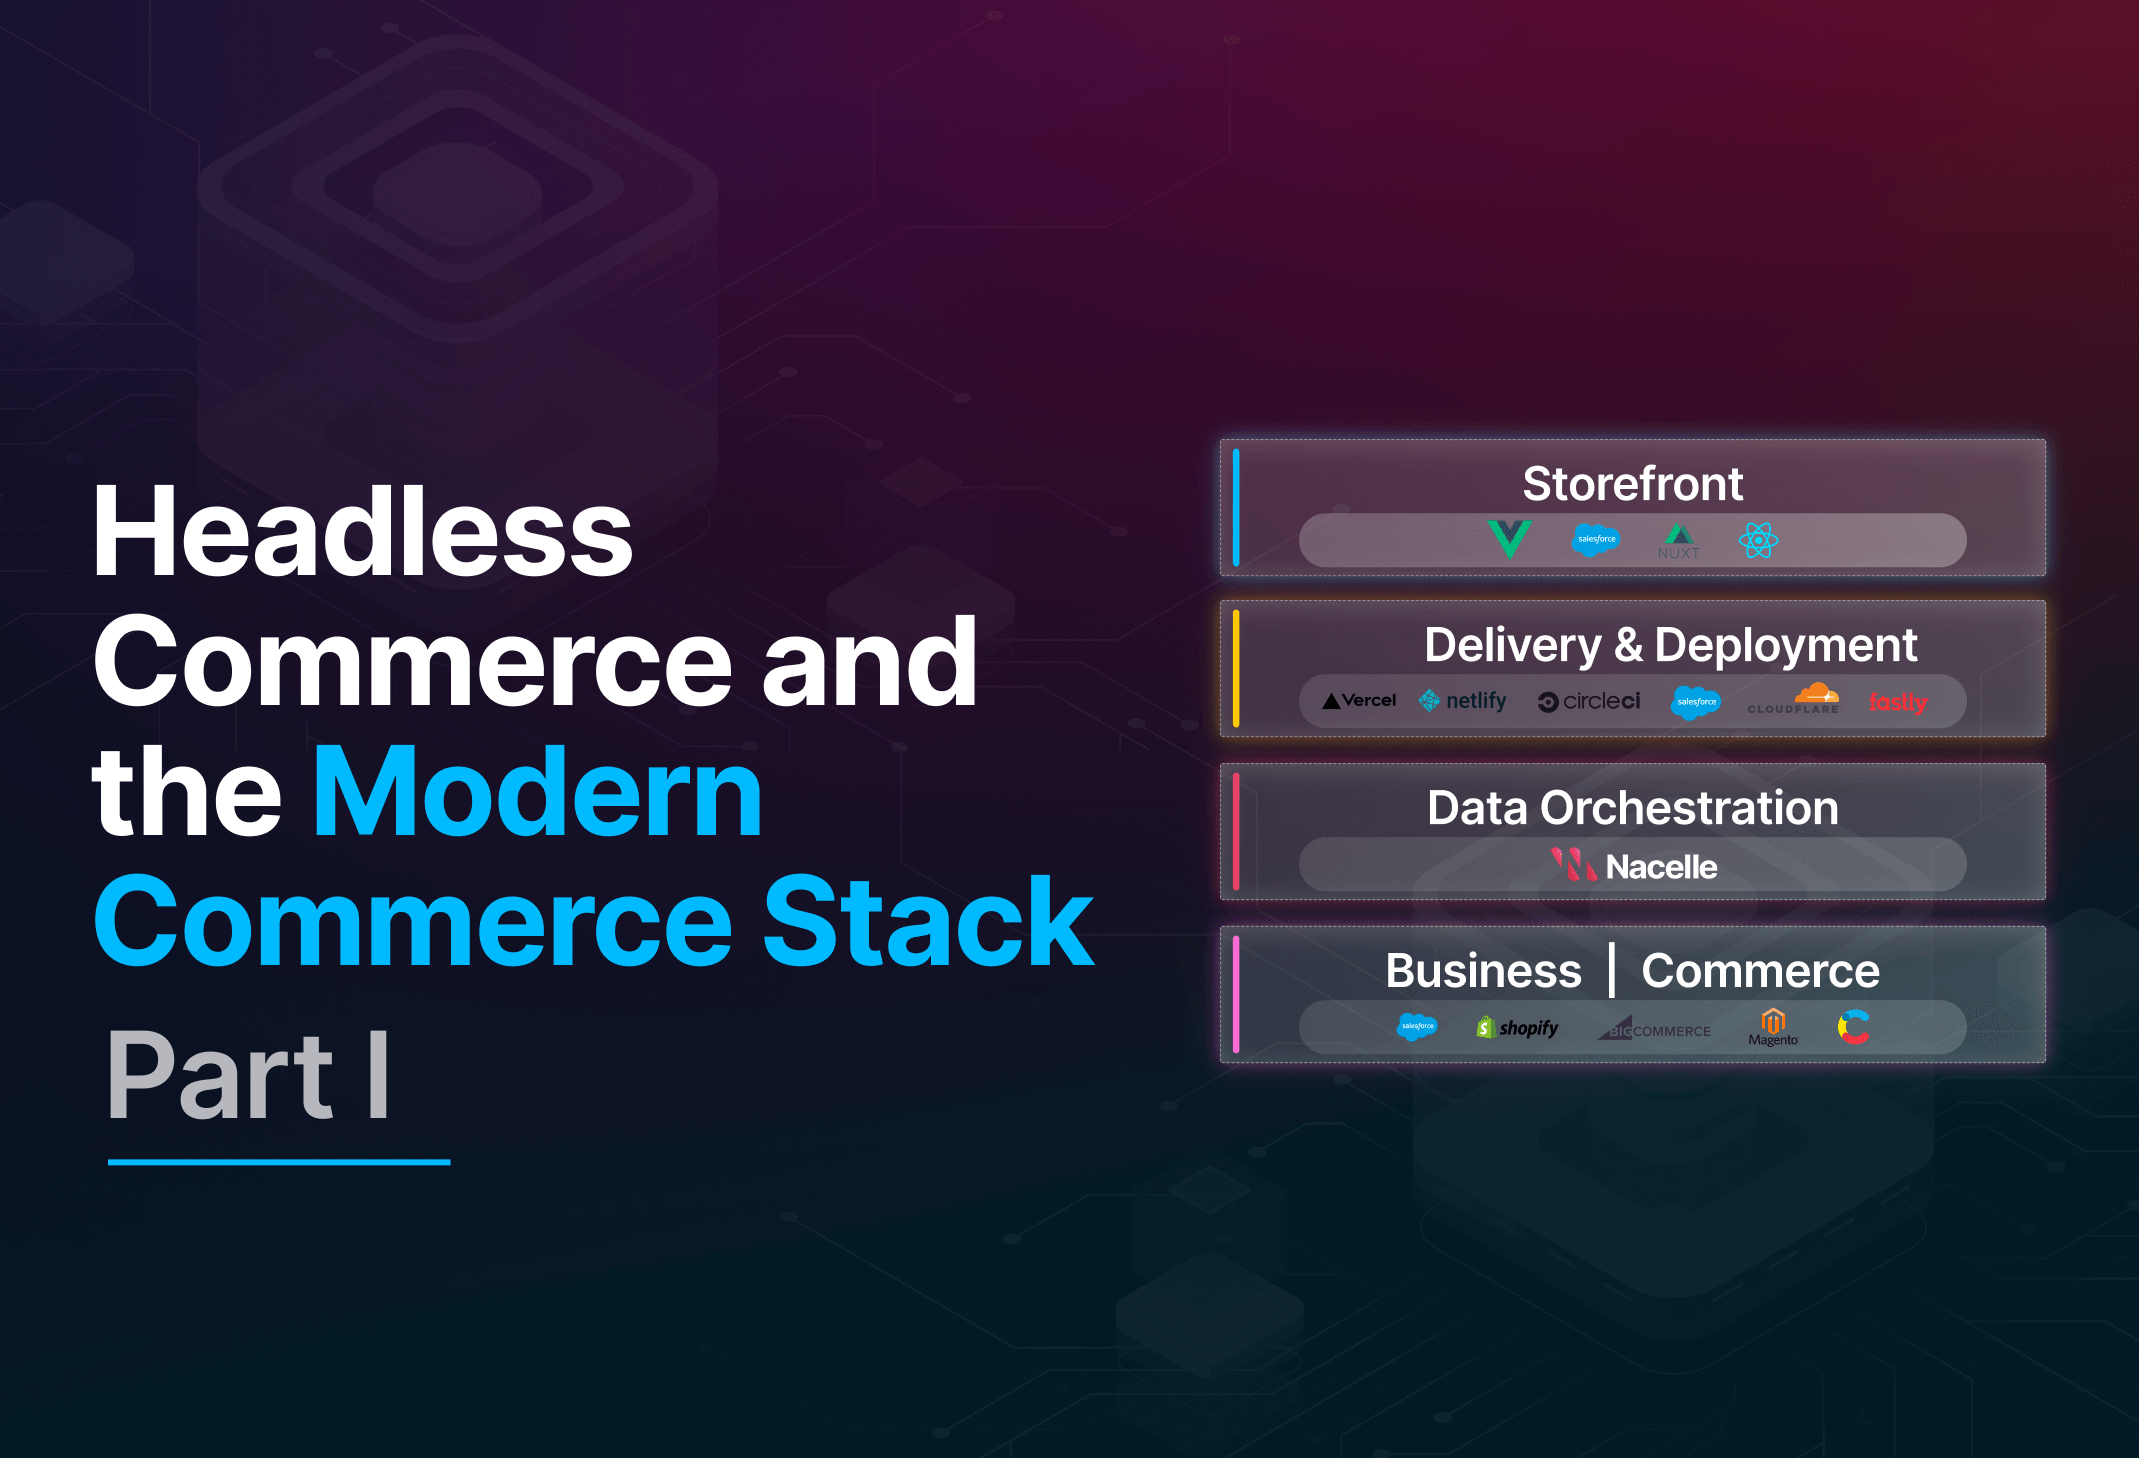
This next step will enable you to index all of your product inventory from Shopify and content from Contentful. This is a huge advantage for the static site build process for your PWA, given that your frontend framework will need to make hundreds to thousands of API calls to gather all of the content it needs for this build. Nacelle ensures that you not only avoid any bottlenecks and eventual consistency issues, but will also consolidate it to our single API for easier maintenance for your development team.
-
You'll need to create a Nacelle account if you haven’t already.
-
Give your new space a name.
-
For this example, we'll leverage Shopify when connecting to product information. However, you'll notice in the dropdown menu, we have a “custom” option as well to align with our best-of-breed ideology.
-
To continue with Shopify, you'll need to grab the storefront API GraphQL Endpoint, which is the domain of your Shopify store and the storefront access token, which you may have saved from earlier in section 1.
-
You’ll want to do an auto-sync. So go to “settings” in the bottom left and scroll all the way to the bottom of the page to grab that webhook key.
-
Save this.
-
Now that Nacelle & Shopify are connected, any changes you make to the product information in Shopify will automatically be indexed within Nacelle. Index these products and then move on with the setup as this can run in the background.
Next, you need to connect Contentful and Nacelle. Same as before, though we are using Contentful for this example, Nacelle can work with many different CMS tools to align with our best-of-breed methodology.
-
Copy over the Contentful space ID and add an access token.
-
Here you need to create an API key, give it a name, then copy that access token over.
-
Now you can add the access token to index your content.
You're good to go!
Create a Nuxt App
Now that everything is configured, you can create your Nuxt application by leveraging the Nacelle Nuxt starter kit to give you your sandbox store.
Let's recap what you've done so far. You've linked both your product and content data to your Nacelle space so that all these assets can be properly indexed. This is key for the static build process of your frontend, in regards to managing those thousands of API calls that you’ll need to make. Without Nacelle in place for this build, you're risking both data discrepancy and eventual consistency issues that will be created by various bottlenecks within your stack.
With this final step, you can connect your Nuxt frontend to your Nacelle space.
-
Go back to the Command Line Interface. Navigate to a directory where you want to build your project and run: npx @nacelle/create@1.x your-project-name This should take about 40 seconds or so to download.
-
Once this project is installed, it's going to ask you for your Nacelle space ID and the graphQL token, which you can get from the Nacelle settings.
-
Now that everything is properly linked, you can change the directory to the demo store and run the application. This should take about 16 seconds or so to build.
And there it is. There's our store. You've got the store up and running and it's ready to be edited within your Contentful account. Enjoy!
Wrap up
In conclusion, you have gone through the process of creating a headless architecture using Nacelle. Some important things to note:
-
Your workflow within your product inventory manager, Shopify in this case, does not change.
-
We want to enable you with a headless content management system, like Contentful, to better help your team to make visual changes within your storefront.
-
The elasticity and power of Nacelle will eliminate any worry about changes that you make within your backend systems, such as price updates, inventory availability, content adjustment, etc. You don’t have to worry about changes not instantly being reflected within your storefront PWA. This eliminates headaches like eventual consistency.
If you're curious about how Nacelle will best fit within your tech stack, please make sure to follow up!
Contact Sales